Users, teams, and notifications
Invite your count team, manage access, organize crews, and send notifications.
Updated October 22, 2026. Screenshots use fictional training data. Select an image to enlarge it.
Invite users and manage access
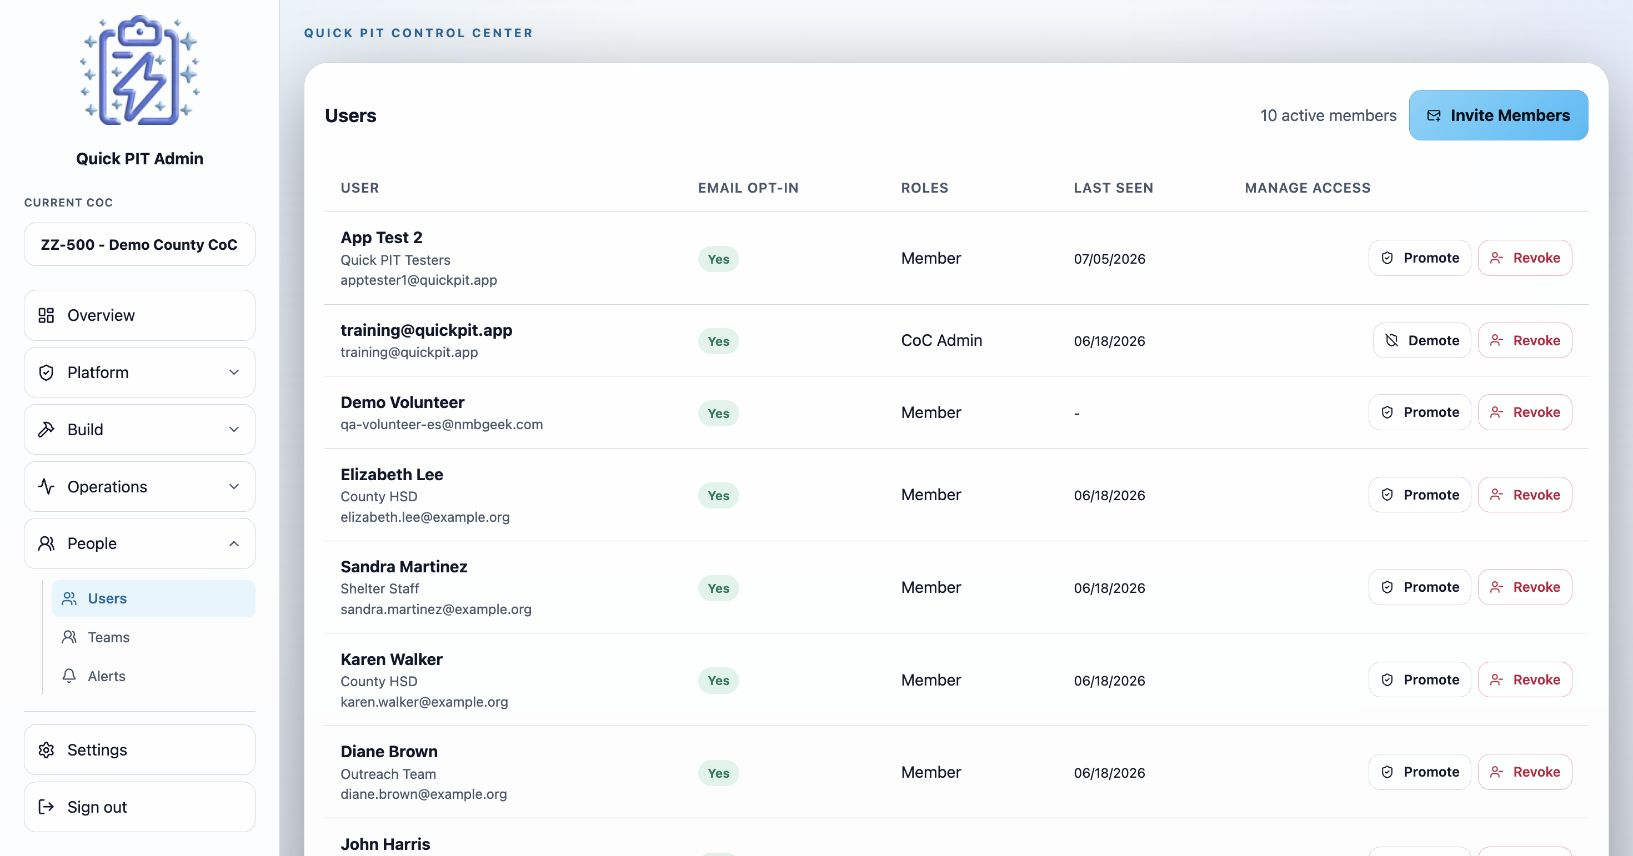
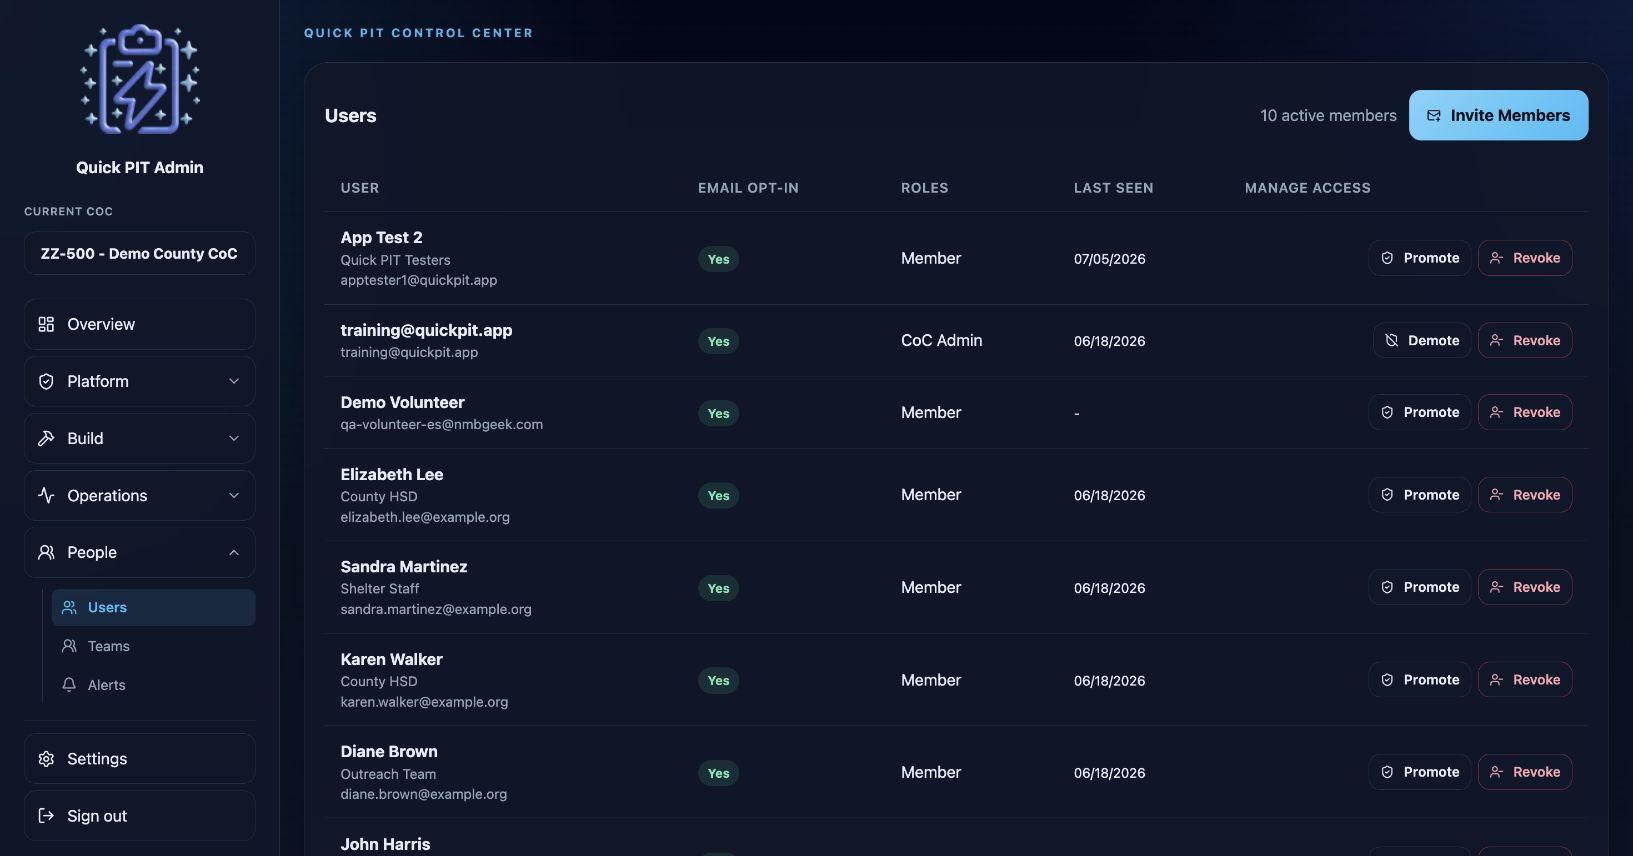
Open People → Users and choose Invite Members. Add individual email addresses and choose Member or CoC Admin access. You can also import a .csv, .xls, or .xlsx file; imported addresses receive Member access. Invite additional CoC Admins individually.
Review the staged list before sending. Invites apply when people sign in with the invited email address. If part of a send fails, review the displayed results and retry the failed entries. Pending Invites provides Resend and Revoke actions.
For existing members, use Promote, Demote, or Revoke and review the confirmation. Revoking organization access differs from revoking an unused invitation. Neither deletes the person’s login account. Changes to access may require the user’s session to refresh.
Organize teams
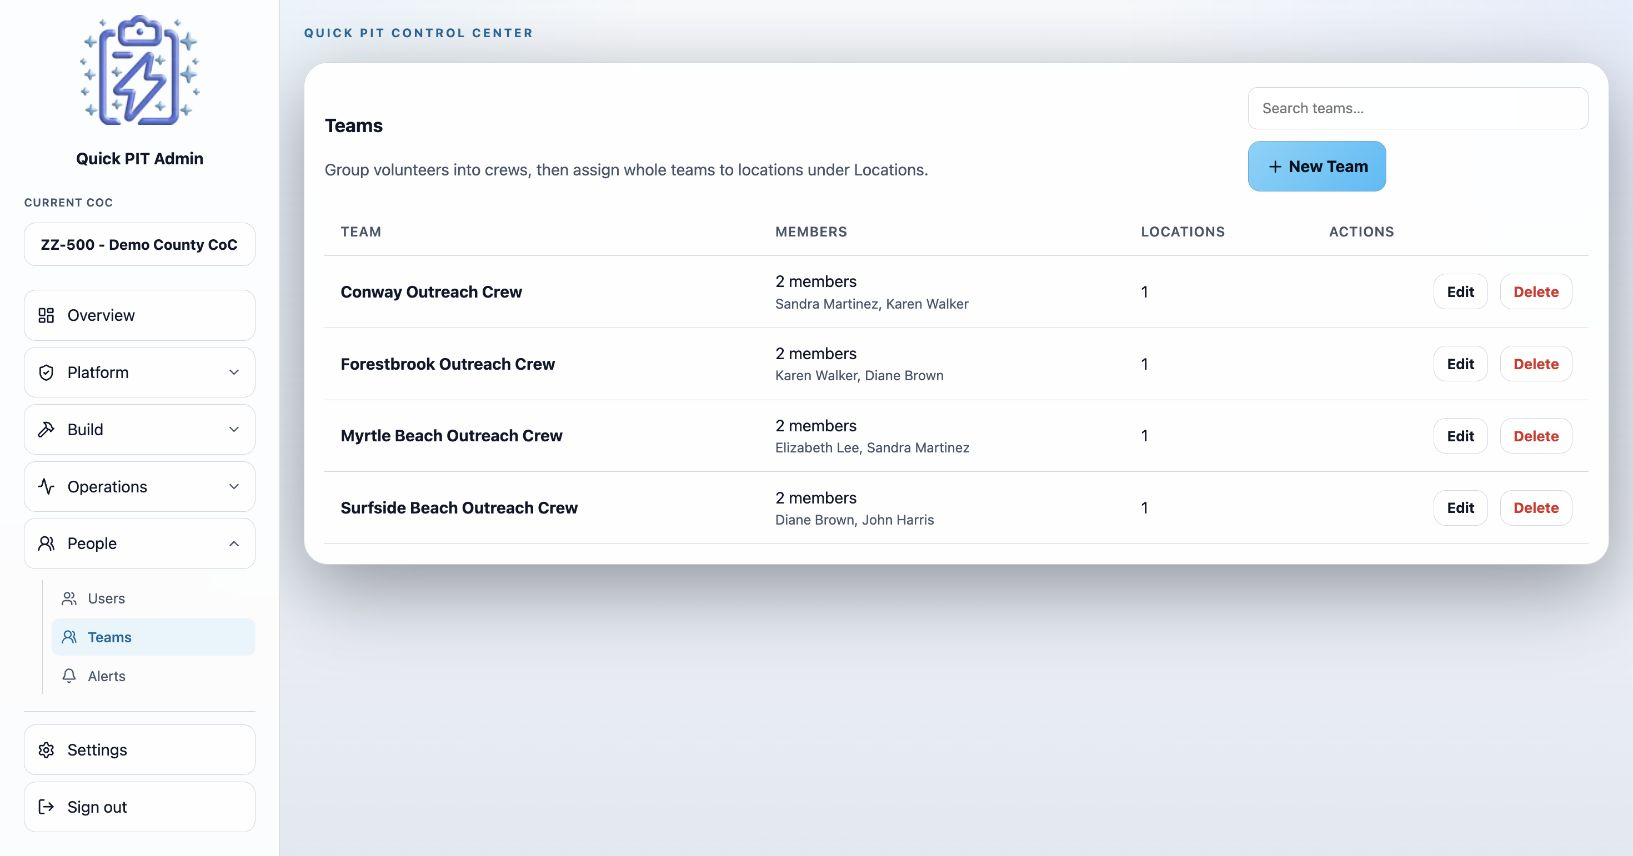
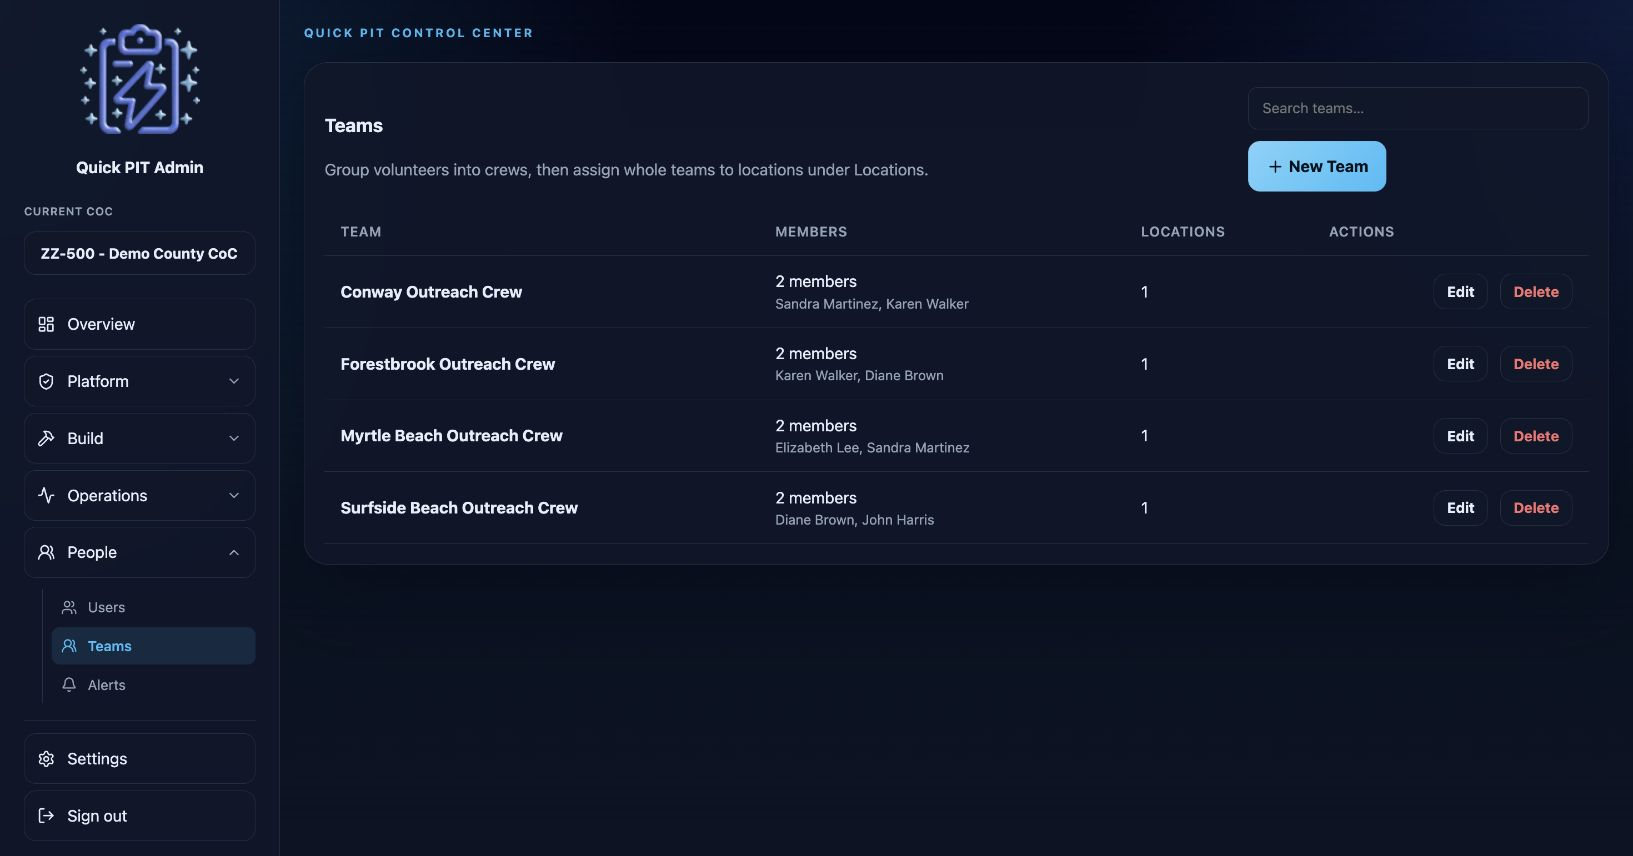
Open People → Teams, choose New Team, name the crew, and select its members. Save the team, then assign it to locations under Operations → Locations.
Teams help you reuse the same group across field locations. Edit team membership as assignments change. A member can also have access through a direct location assignment or another team, so removing one team membership does not necessarily remove all location access.
Send notifications
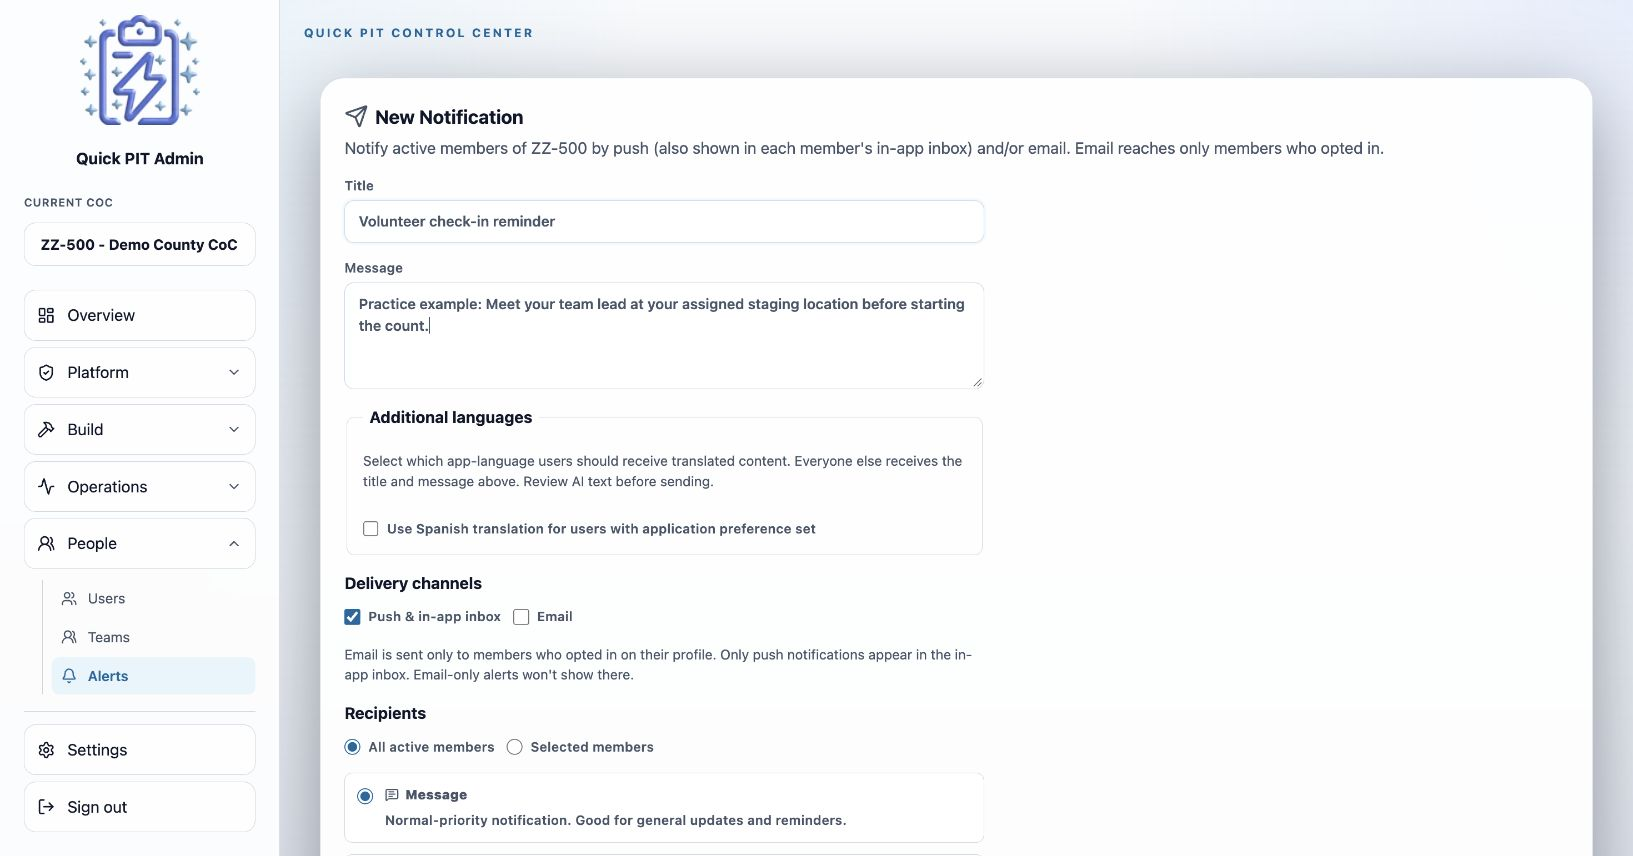
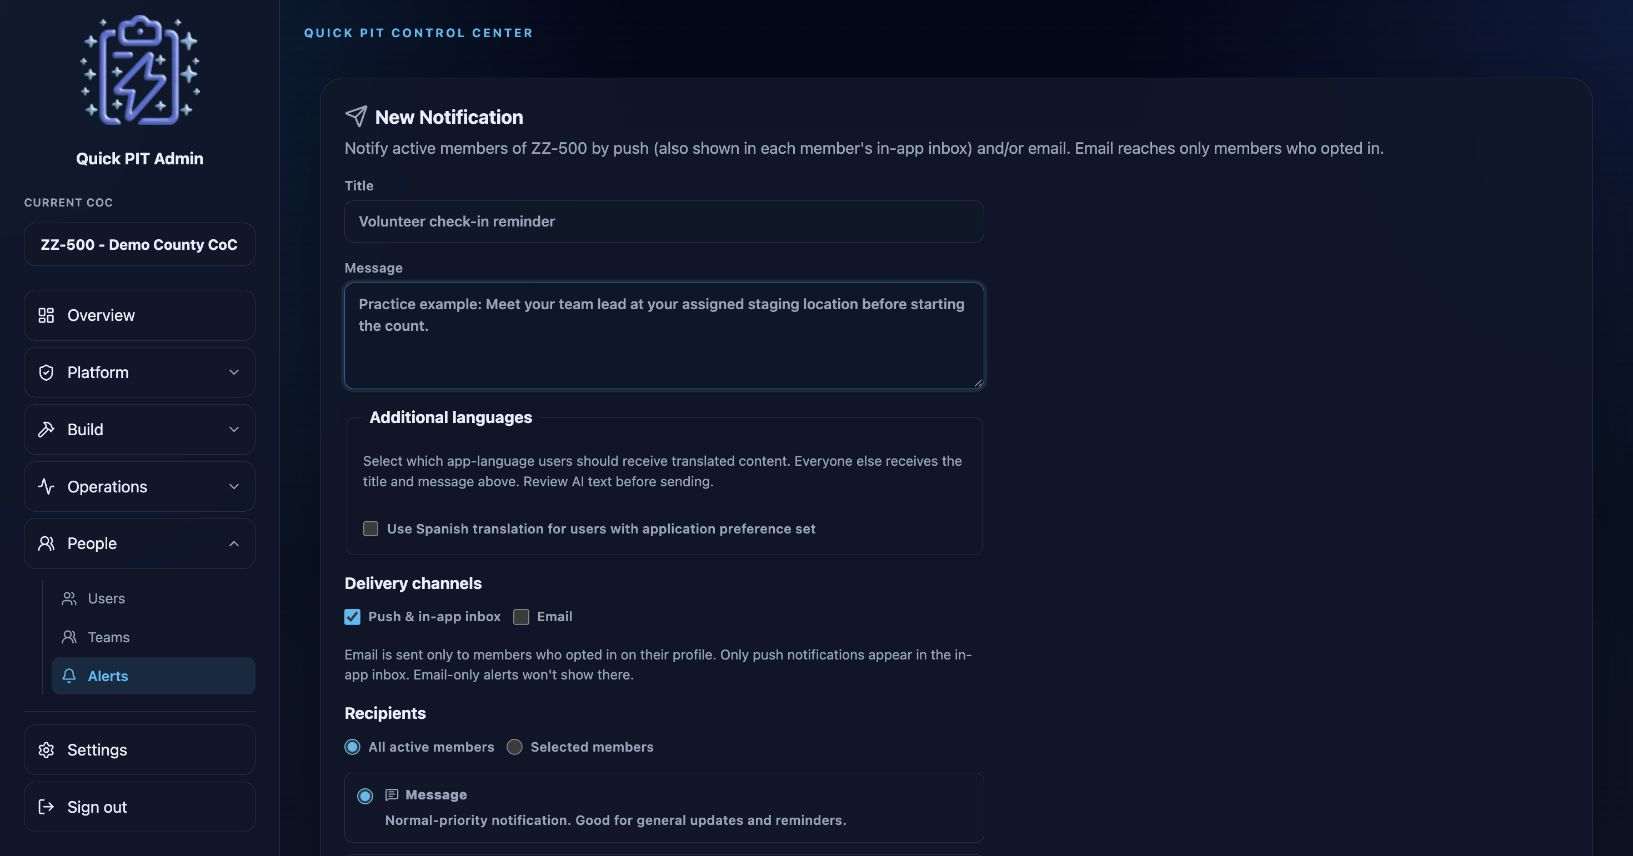
Open People → Alerts to compose a notification.
- Enter a clear title and message.
- Add Additional languages where needed. Review any AI-generated wording. Recipients receive an available selected translation based on their app language; other recipients receive the base message.
- Choose Push & in-app inbox, Email, or both. Email goes only to members who opted in. An email-only notification does not create an in-app inbox entry.
- Select All active members or Selected members and review the audience.
- Choose the notification type and Send now or Schedule for. Scheduled times use the CoC timezone in quarter-hour steps: :00, :15, :30, or :45.
- Choose Send Notification or Schedule Notification.
Review Notification History for status and separate push and email results. Delivery results are not read receipts. Cancel a scheduled notification if it should no longer be sent.