Waivers and training
Prepare waiver templates, find signed records, and publish training resources.
Updated October 22, 2026. Screenshots use fictional training data. Select an image to enlarge it.
Prepare waiver templates
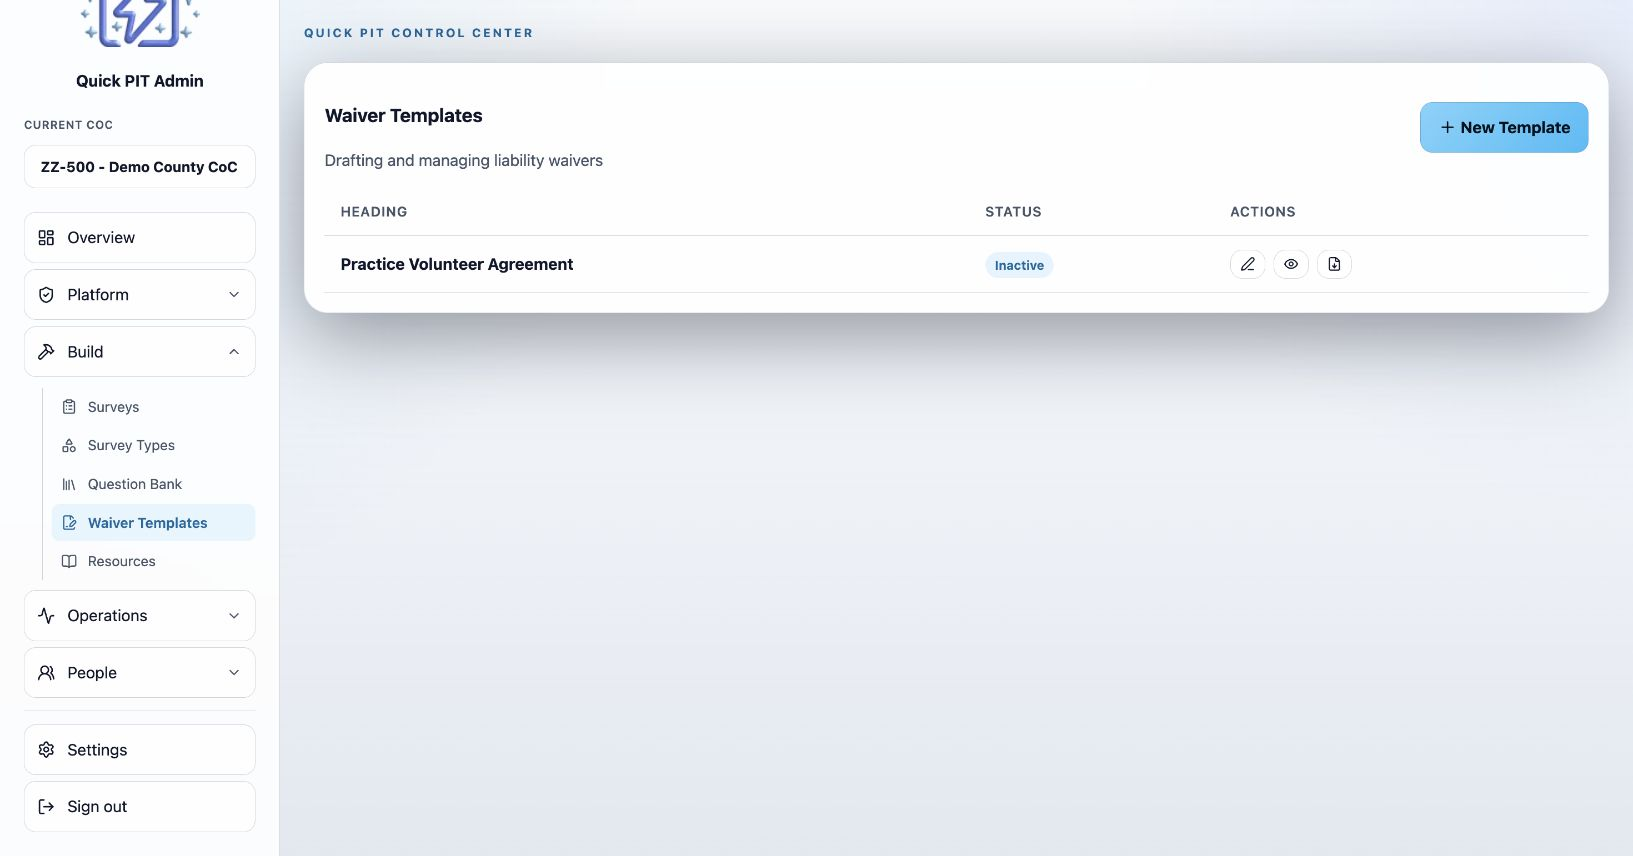
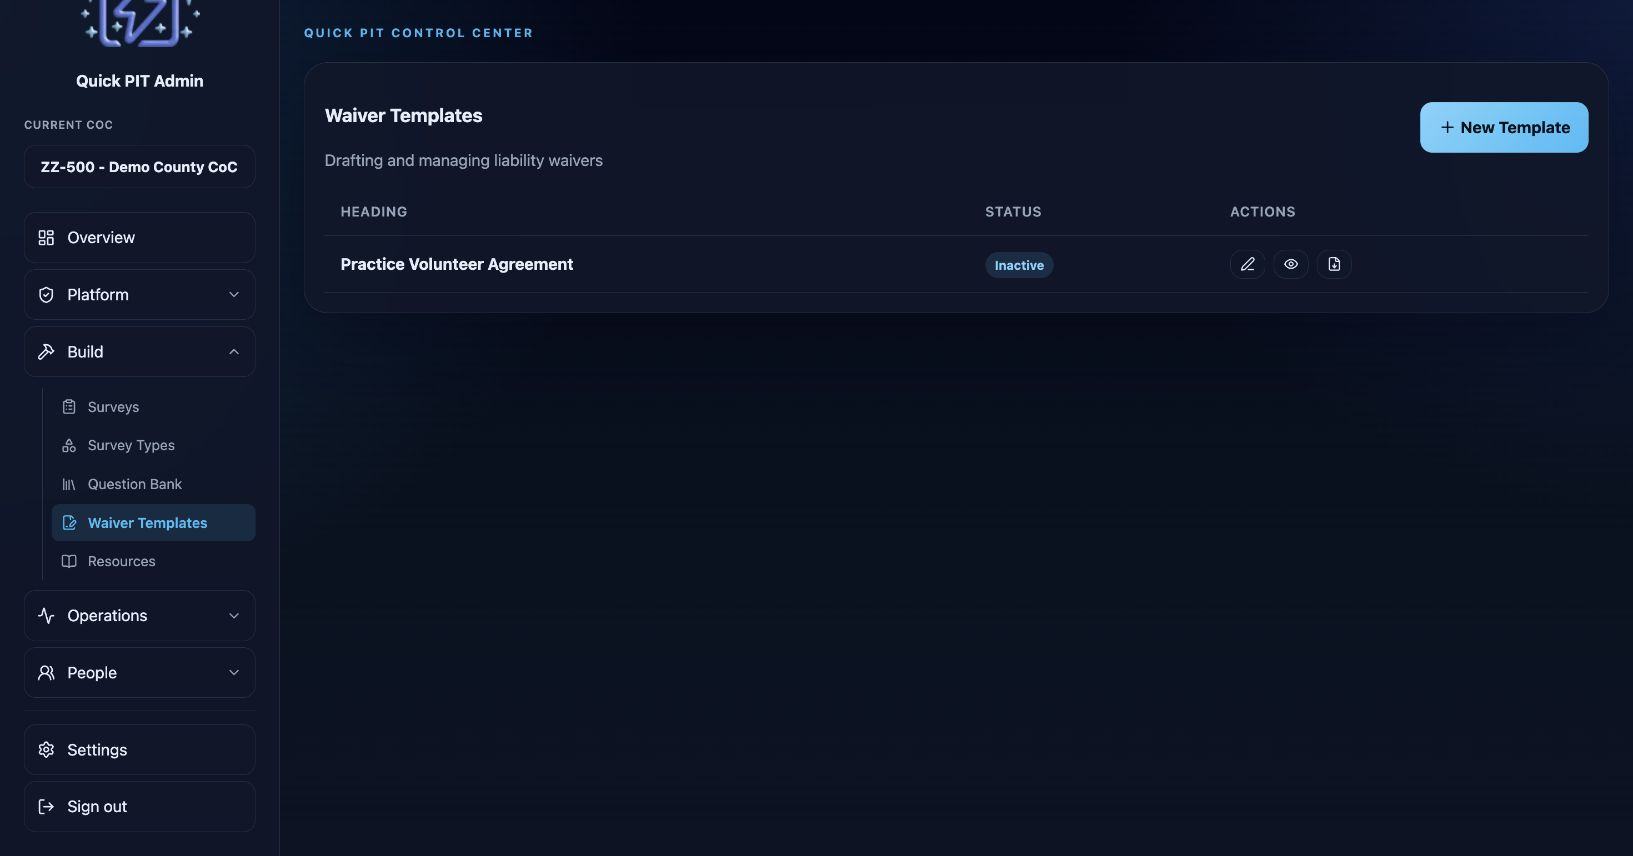
- Open Build → Waiver Templates and create a template.
- Enter the heading, waiver text, and consent statement. Use the provided `{NAME}` placeholder when the statement should include the signer’s name.
- Preview the result and review it through your organization’s waiver approval process.
- Set its active status and choose Publish Version. When replacing an active template, decide whether to deactivate previous active waivers.
Creating a new active template asks users to sign that new template. Editing an existing template does not require people who already signed it to sign again. To request a fresh signature, create a new template. Previously signed records keep the content accepted at the time of signing.
A count can use an in-app waiver or an external waiver process. Selecting the external process for a count does not switch off active organization-wide waiver requirements in the field app. Review both the count setting and active templates when planning an external process.
Sample text and electronic records do not establish whether a waiver meets your organization’s legal requirements.
Find signed waivers
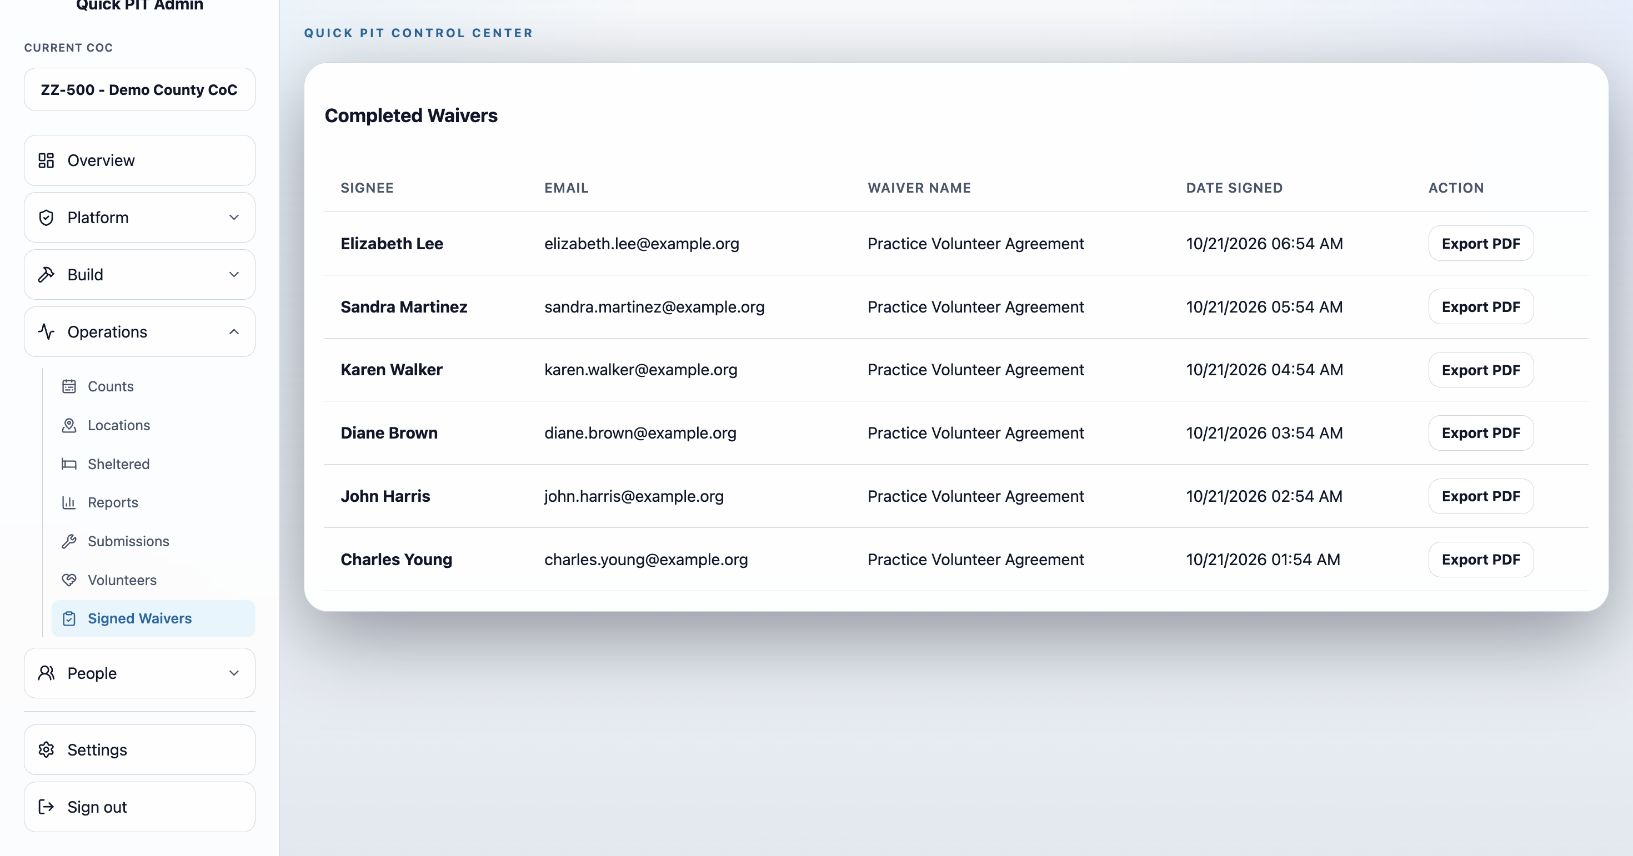
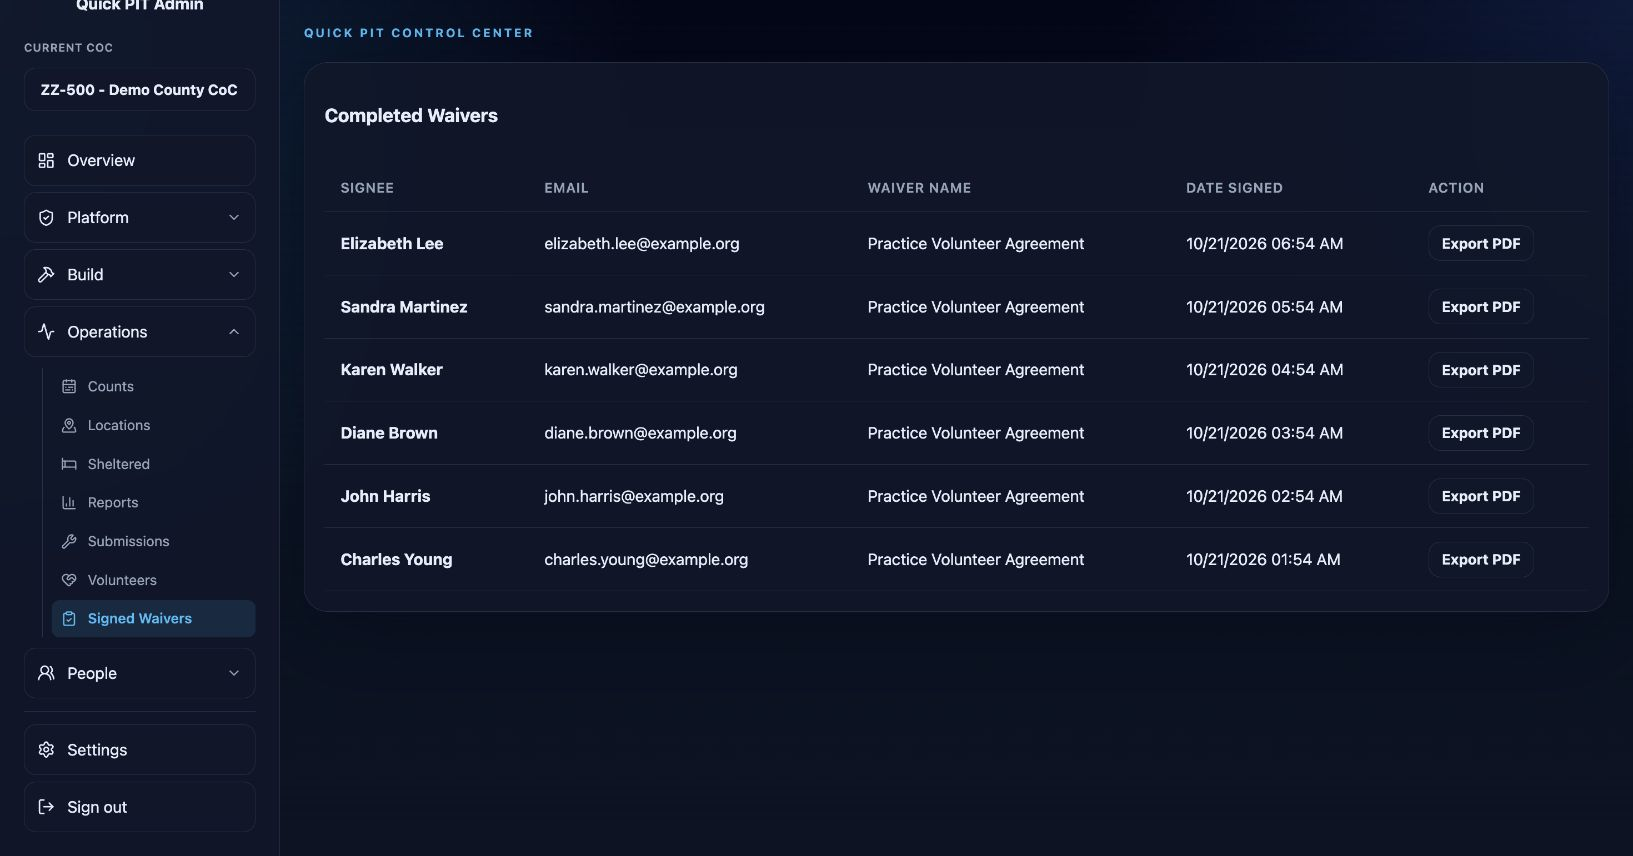
Open Operations → Signed Waivers to view completed records and download individual PDFs. These records preserve the text and consent accepted when signed. Use Build → Waiver Templates to prepare future agreements; editing a template does not rewrite a completed record.
Publish training resources
Open Build → Resources to add guidance your team can reach from the field app.
| Type | Use it for |
|---|---|
| Content | Instructions and reference material designed for reading in the app |
| External Link | A page on another website |
| YouTube Video | A training video hosted on YouTube |
| File | An uploaded document available through a protected download |
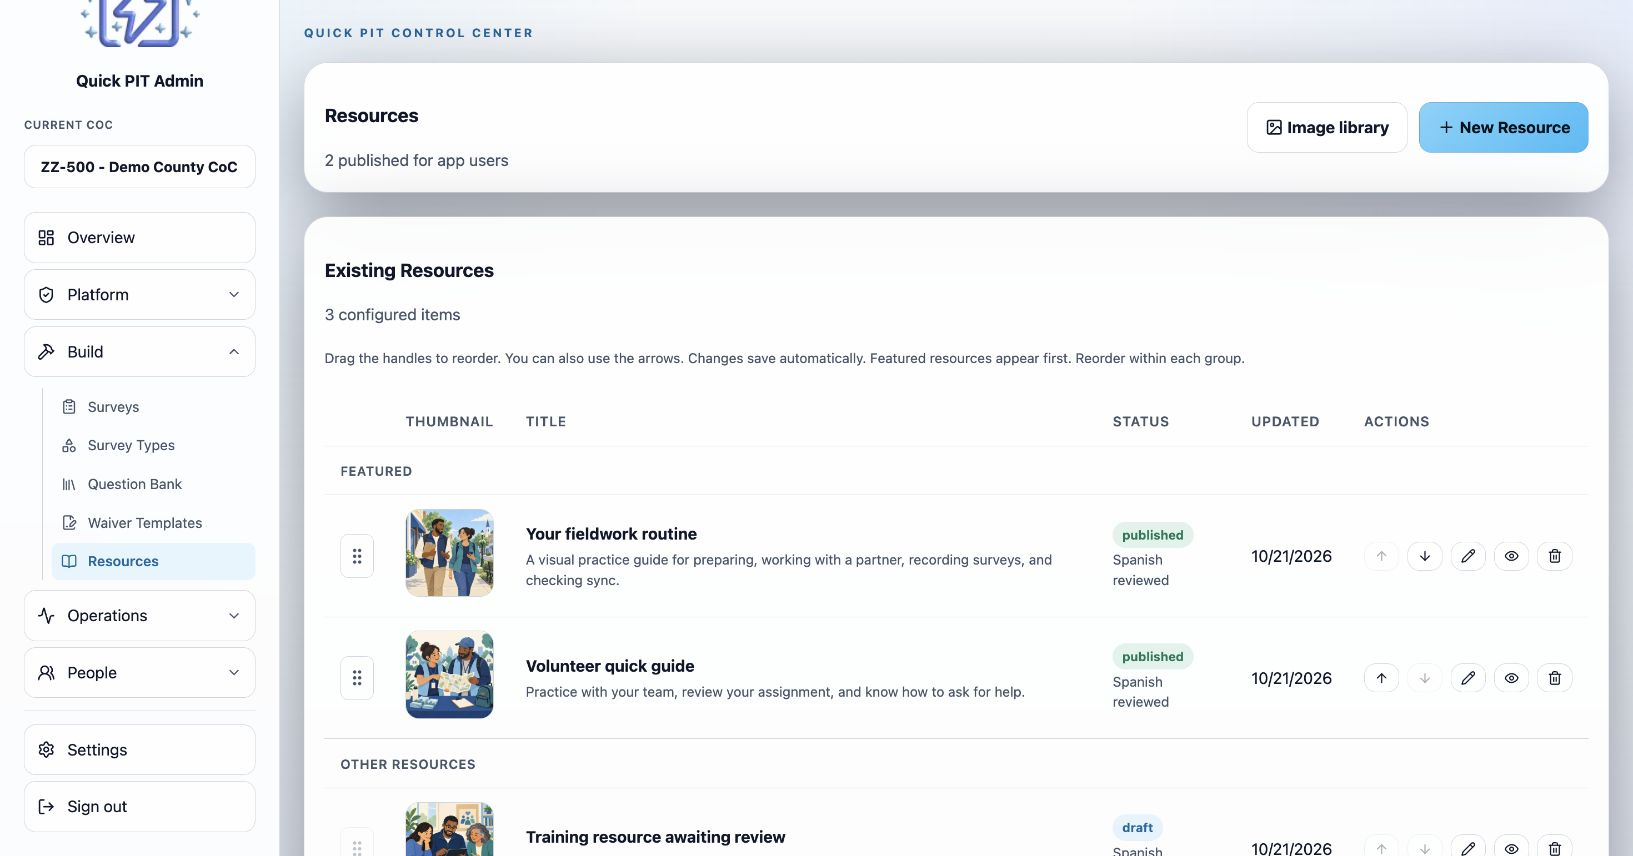
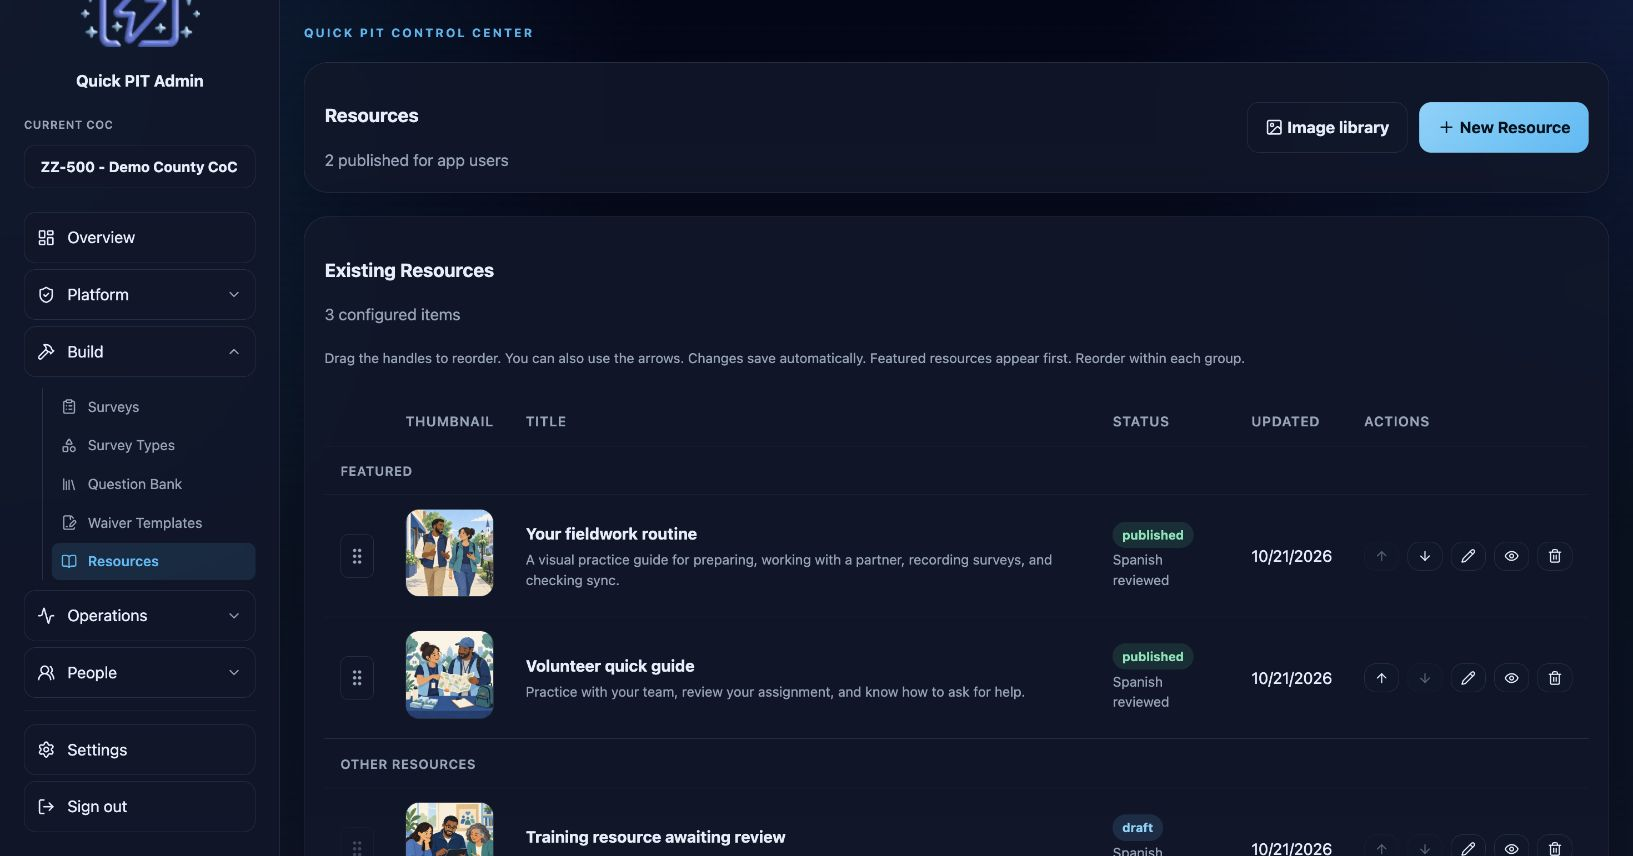
Give each resource a clear title and summary. For a Content resource, use the editor to insert images and provide useful alternative text. A separate thumbnail helps members recognize the resource. Use Image library to manage images you can reuse across resources, or choose an existing image when adding a thumbnail or inserting an image into content. Add its content, link, or file; enable Featured when it should appear before other resources. Use Draft while preparing it, Published when ready for members, and Archived when it should no longer be offered. Preview it before publishing.
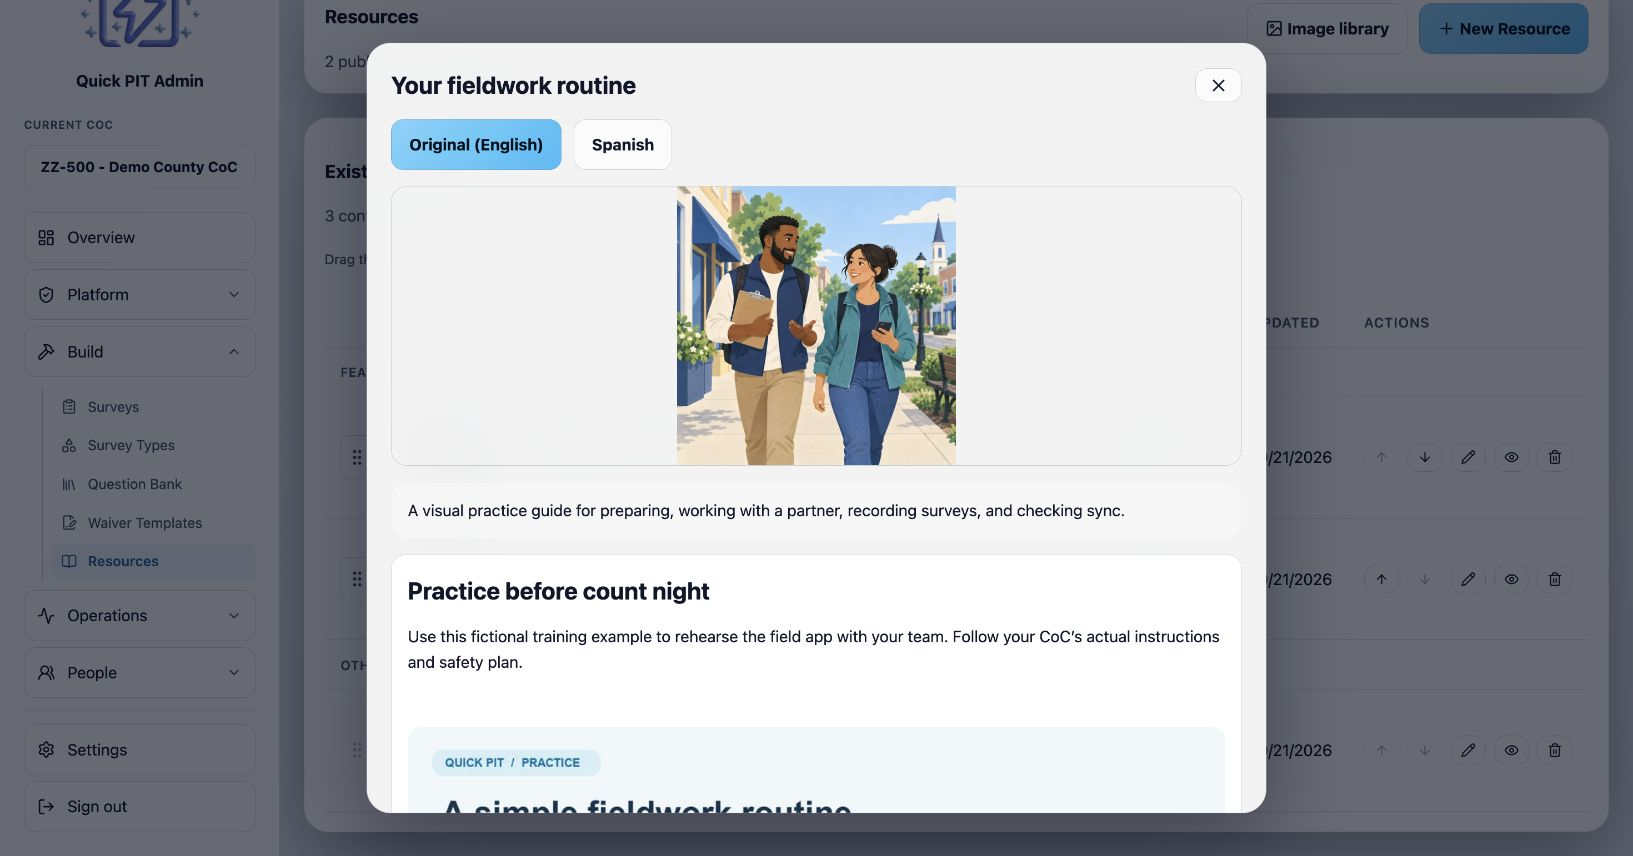
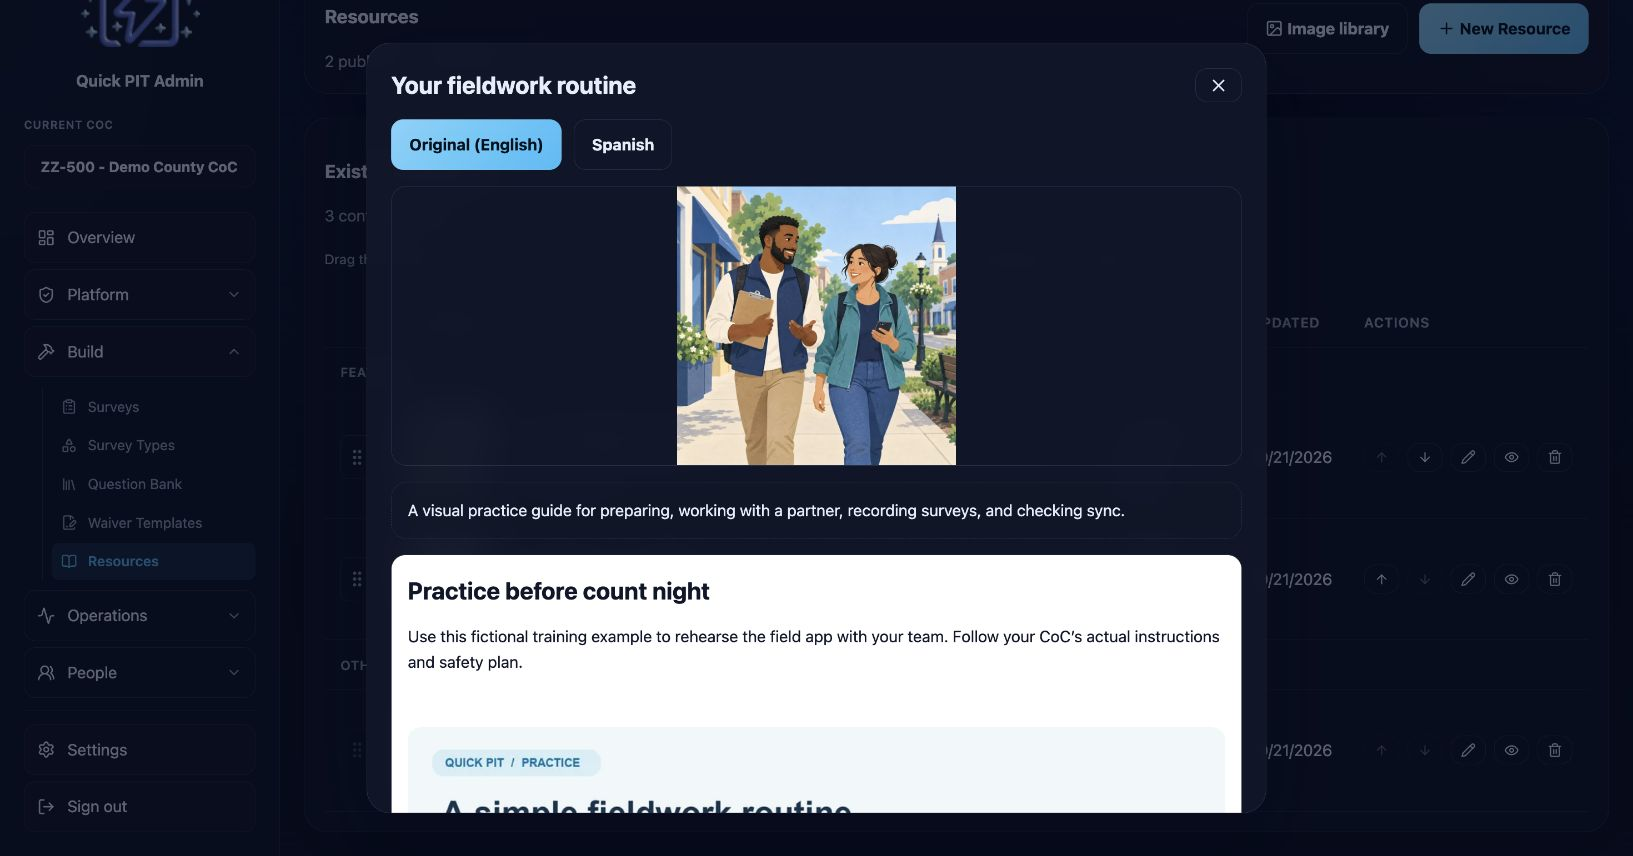
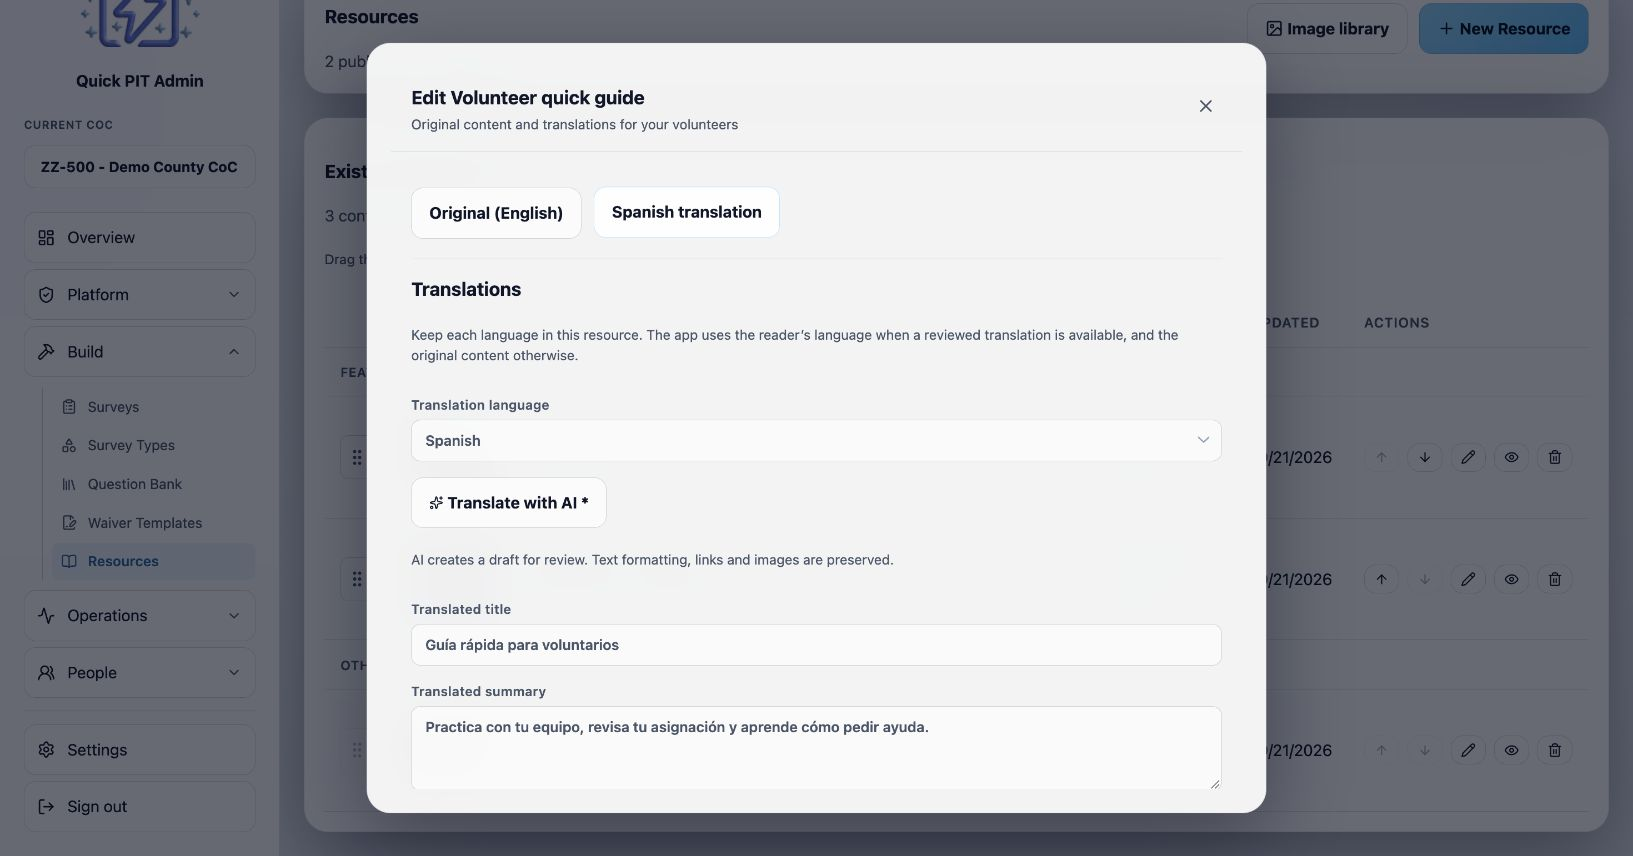
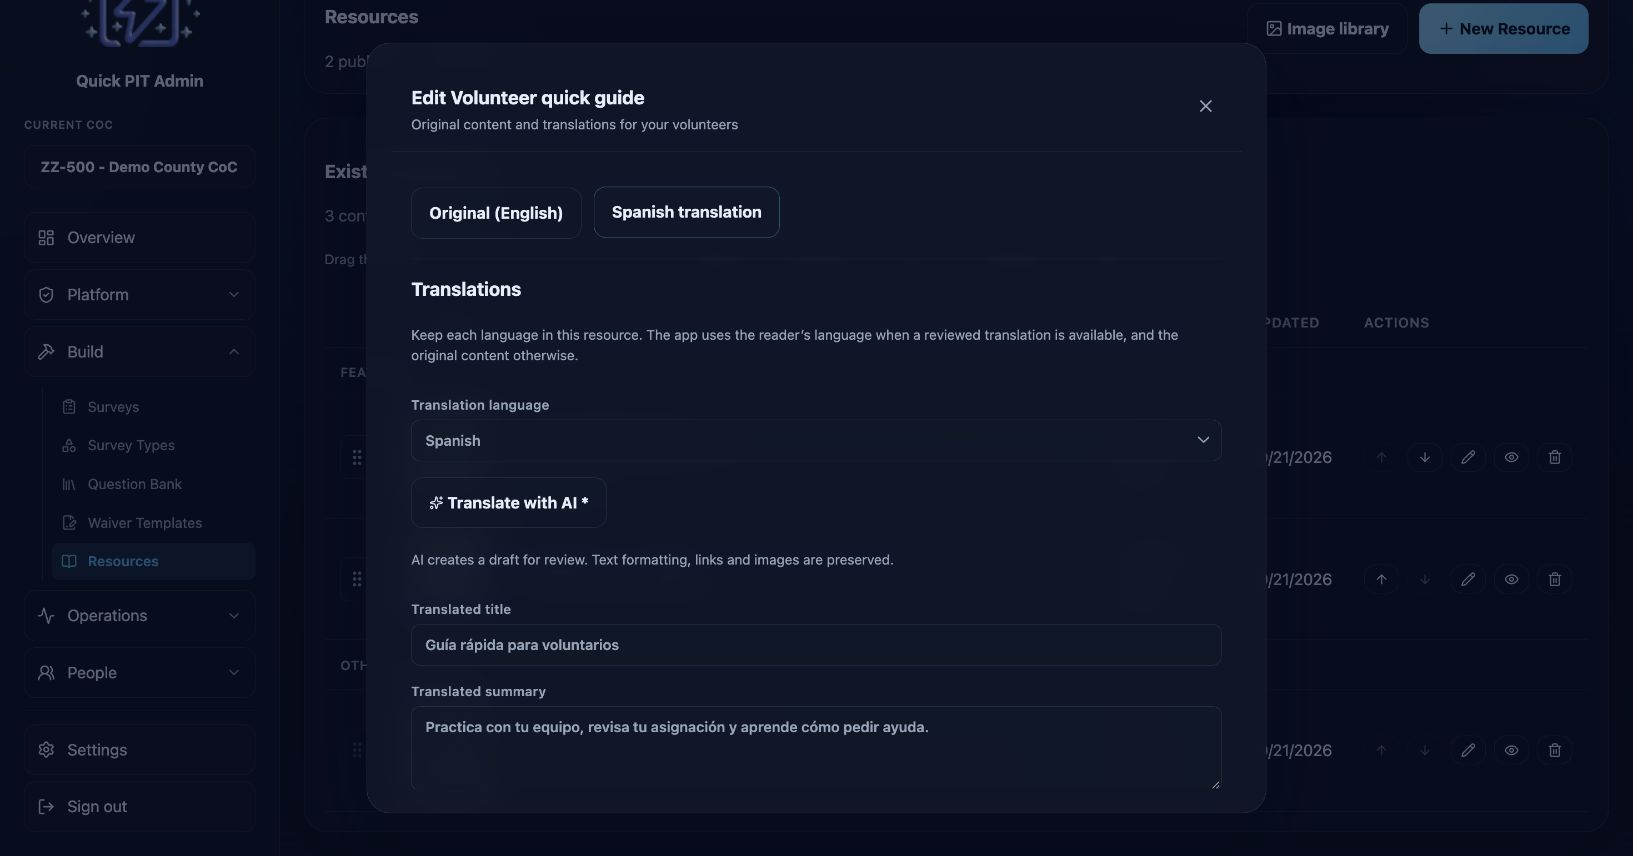
Protected files require member access. External websites and videos follow their own availability and access rules. Choose Spanish translation at the top of the editor instead of creating a second resource. Use the language buttons in Preview to review either version. The list shows whether Spanish has been reviewed; the resource still needs to be Published to appear in the app. Enter the translated title, summary, and body, preview it, then check Reviewed and ready to show in the app and save. The current web app selects reviewed content using the reader’s app language and falls back to the original when a translation is missing, unfinished, or not reviewed. Changing the original content turns translation readiness off: save the original first, then review the translation again. The cover image is shared. For links, videos, and files, only the title and summary are translated here; the linked content or attachment stays the same. Installed mobile versions need an app update to use resource translations.
Drag a resource’s handle on the left to change its position, or use the up/down buttons in Actions. You can also focus the handle and press the up/down arrow keys. Changes save automatically. Featured resources appear first in the app; reorder within each group. New resources are added at the end of their group.